How to record a webinar on a Mac when you're not the host
As an attendee you usually cannot use the webinar's own recorder: Zoom, for one, gives webinar attendees no recording controls at all. You can still record what your Mac shows and plays. On macOS 27 that is free: press Shift-Command-5, choose the webinar's window or the part of the screen it is in, tick Include System Audio under Options, and click Record. Ask the host for the replay first, and check the organizer's terms and the law where you are.
Last updated: October 2026
Written by the developer of Take, a Mac screen recorder, on 6 October 2026. No real webinar was recorded: the steps and figures come from recording a sample slide and a test tone on a 16-inch MacBook Pro (Mac16,7) on macOS 27.0.1. Zoom's rules come from its own help pages, read the same day.
First, ask
Many webinars send a replay to everyone who registered, so ask the host before you record anything. Some organizers forbid recording in their terms, and recording laws differ by country and state. A recording made on your own Mac does not go through the webinar app, so nobody in the webinar is told about it. That makes asking your job.
Zoom's help page on webinar roles shows recording controls for the host, co-hosts and panelists, who can record to their computer when the host allows it, and none for attendees.
Free on macOS 27: Shift-Command-5
- Join the webinar and give it its own window, or put it in one part of the screen.
- Turn on Do Not Disturb. Include System Audio records everything the Mac plays, notification sounds included.
- Press Shift-Command-5 and pick the button that records one window, or the one that records a part of the screen.
- Click Options and tick Include System Audio, under Capture. Pick a microphone only if you want your own voice in it.
- Click Record. When the webinar ends, click the stop button in the menu bar or press Command-Control-Escape.
Plan for the size. On our test, a 1920 by 1200 pixel recording of a still slide with sound came to about 1.8 GB an hour. Slides with video or a lot of motion take more. The file lands on the Desktop unless you chose another place under Save to, and QuickTime Player can trim the start and end.
No Include System Audio in your Options menu? Your macOS is older than the one we tested. The free routes for that are on how to screen record with internal audio.
With Take
- Click Take in the menu bar and choose Window, then pick the webinar's window from the list.
- Leave Camera off. Switch Microphone off unless you want your voice in the recording.
- Click Record. Pause and carry on with Command-Shift-P, and stop from the menu bar.
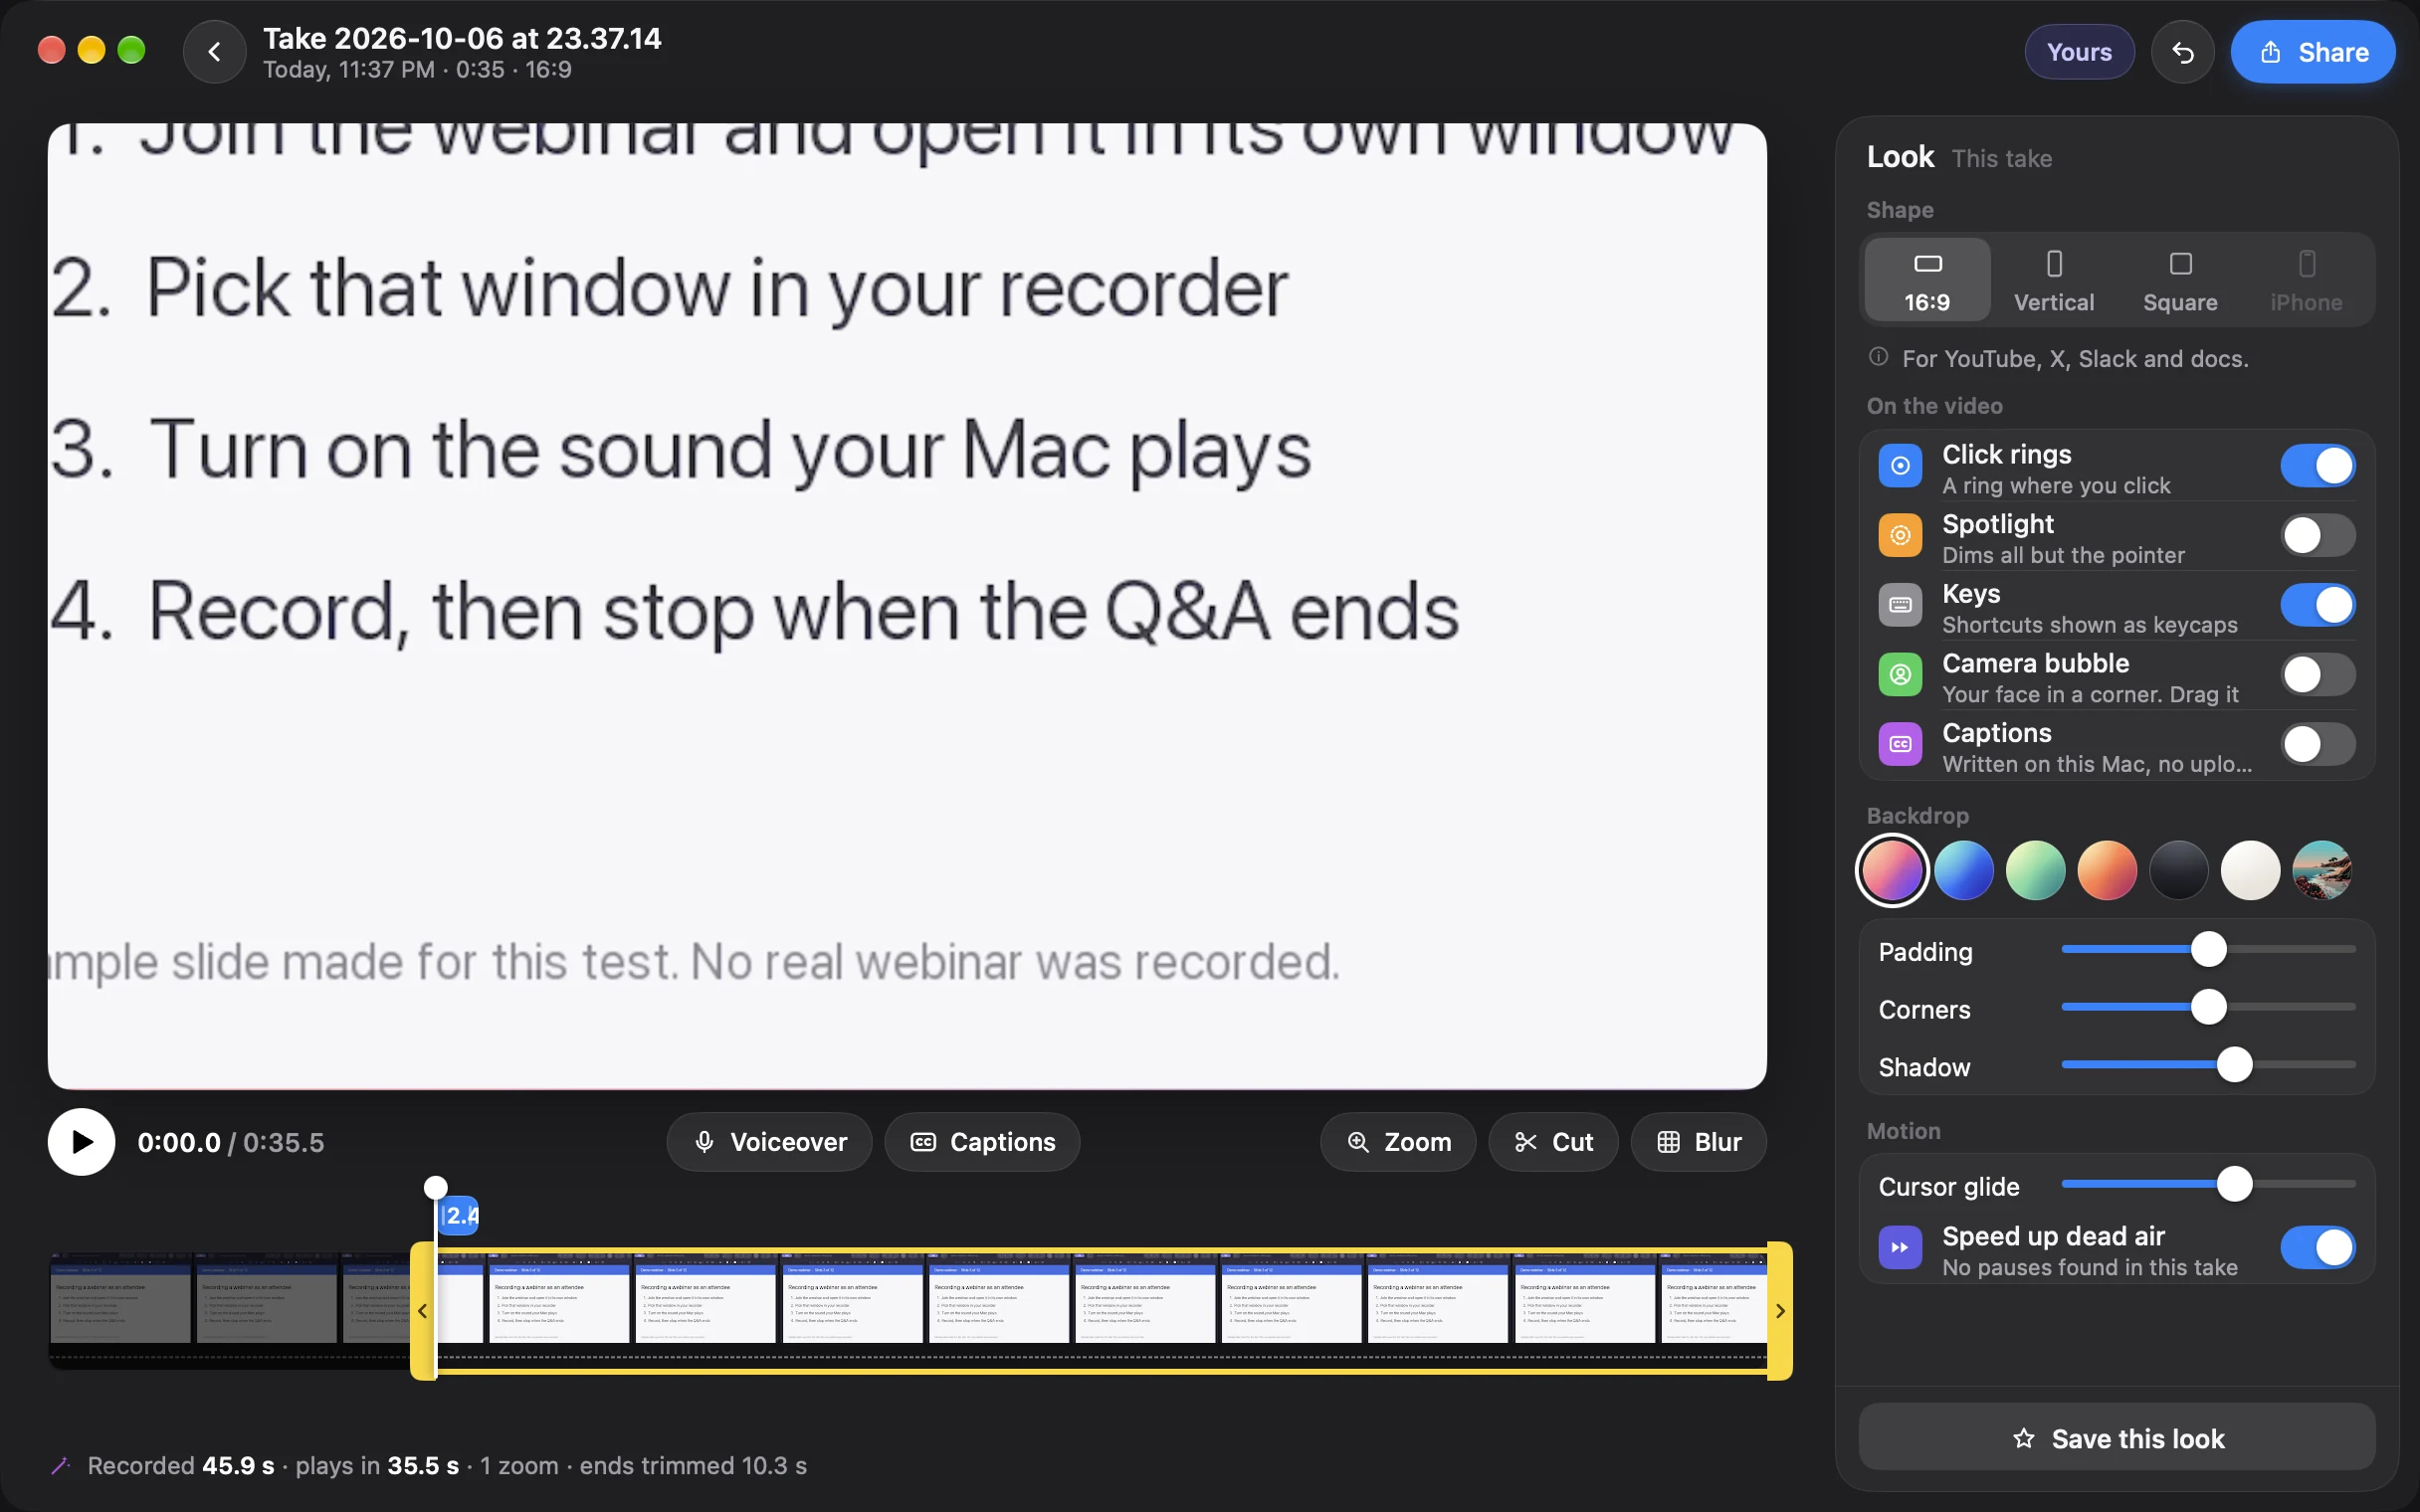
Our test take in Take's editor: a sample slide in a Preview window, recorded as a window. Take trimmed the start and the reach for Stop on its own.
Take records the Mac's sound unless you turn it off in Settings, and in Window mode it keeps only the sound of the app that owns the window. In our test that left out a tone played by another app, so a webinar in its own app, such as Zoom, should keep other apps' chimes out. We tested neither Zoom nor a webinar in a browser, so if the sound is missing, choose Area, which records everything the Mac plays.
On a still slide, Take's recording was about 0.42 GB an hour at the same 1920 by 1200 pixels. When you stop, it trims the start and your reach for Stop and speeds up long silences. For a talk where the pauses matter, turn Speed up dead air off in the Look panel. Then trim, cut out the break, and share one file with the sound mixed in.
Download Take to try it. Recording and editing are free to try · the 7-day trial starts when you first share · macOS 14 or later
Only need what was said?
Minutes, which comes in the same purchase as Take, records the Mac's sound and your microphone, then writes the transcript and notes on your Mac. It needs macOS 26 on Apple Silicon.
Side by side
| Way | As an attendee | The webinar's sound | After you stop |
|---|---|---|---|
| Zoom's own recorder | No recording controls for attendees | Yes, for those who can record | A file from Zoom |
| Shift-Command-5 on macOS 27 | Yes | Yes, with Include System Audio | Trim it in QuickTime |
| Take | Yes | Yes, on by default | Trimmed for you, then cut, zoom, caption and share |
FAQ
Can I record a Zoom webinar as an attendee on a Mac?
Not with Zoom's recorder: its help page lists no recording controls for webinar attendees. A screen recorder on your Mac can record the window and its sound. Check the organizer's terms and ask first.
How do I record a webinar with sound on a Mac?
On macOS 27, press Shift-Command-5, choose the webinar's window or area, click Options, tick Include System Audio, then click Record.
Will the host know I am recording?
A recording made on your own Mac does not go through the webinar app, so the webinar does not announce it. That is a reason to ask, not a way around asking.
How much space does an hour of webinar take?
On our test of a still slide at 1920 by 1200 pixels, about 1.8 GB an hour with Shift-Command-5 and about 0.42 GB an hour with Take. Moving video takes more.
What if the webinar plays in a browser?
Record the part of the screen the browser is in, with Include System Audio ticked, or use Take's Area. Both record everything the Mac plays.
Recordings that arrive finished
Stop the capture and it is already staged: zooms where you clicked, dead air sped up, a real backdrop, and a plain .mov you own. Comes with Crest: $24.99 once for Crest Pro, Take and Minutes.
Get Take with Crest, $24.99 Try free for 7 daysmacOS 14 or later · Universal · no watermark, ever · 7-day trial, no card up front
Keep reading: Screen record with internal audio · Record your screen and your face · Record a call · No watermark, no time limit · Best Mac screen recorders · Take overview